How Can We Help?
You are here:
How to setup Two-Factor Authentication (2FA)
After a recent upgrade to Zimbra v10, two-factor authentication is available for all accounts.
Before you begin you will need:
- Access to the Webmail account you wish to setup two-factor authentication
- To know your Webmail password
- A smart phone with an Authenticator App Installed. See Zimbra's approved Authenticator apps here.
- IMPORTANT: Once 2FA is enabled, all users wishing to have access to the mail account will need access to the same smart phone or PC. Only 1 device can be setup with the codes at any time.
How to setup 2FA
- Login to your webmail at: https://mail.salonguru.net
- Under Preferences > Accounts > Account Security, find a link called: Setup two-step authentication
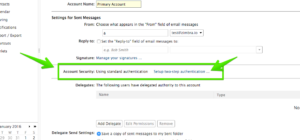
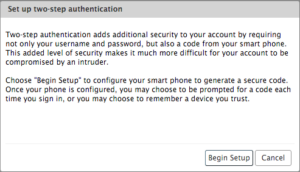
- The first step shows a brief description about two-step authentication. When ready, click on Begin Setup.
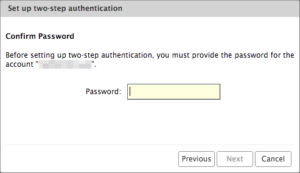
- Confirm your current password and click next:
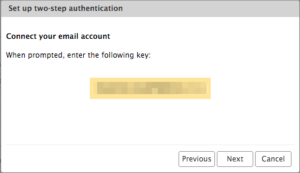
- A one-time setup key will now be generated.
How to Install and setup the smartphone app
- In this example, I will use Google Authenticator, but please visit the Zimbra Wiki where you can find other options. In the App Store or Play Store, search by Google Authenticator, then click Install.
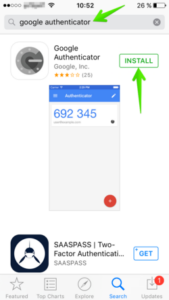
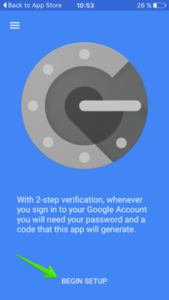
- Once the app is installed, open it, and click Begin Setup.
- The app will ask if you want to configure a Manual entry or Scan a barcode. Please choose Manual Entry or "Enter a setup key".
At this point copy the setup key you saw displayed on the Two-Factor setup wizard. The Account name can be anything you like.

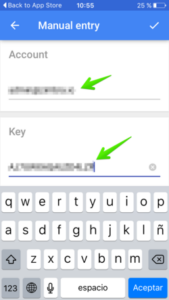
- Now the app is configured and will show a 6-digit code that changes after 15 seconds.
Finishing, back in Webmail
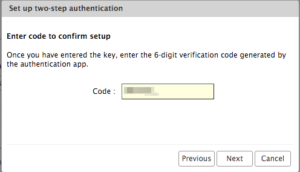
- Once the phone App configured and showing the 6 digit code, please can enter the Code in the wizard window and click Next.

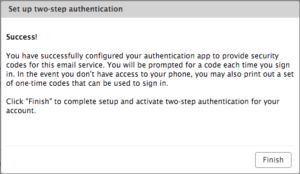
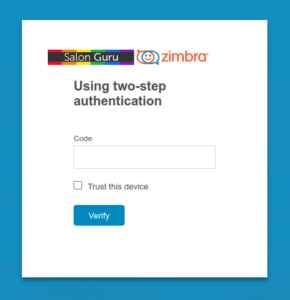
- All done! The two-step authentication feature is now enabled and you will be prompted for a code in each new Browser, smartphone, computer, or app where he or you try to access the account.


🔐 2FA & IMAP in Zimbra
When 2FA is enabled for a Zimbra account, standard IMAP/POP3 connections using just a username and password will stop working, because these protocols do not support interactive 2FA prompts.
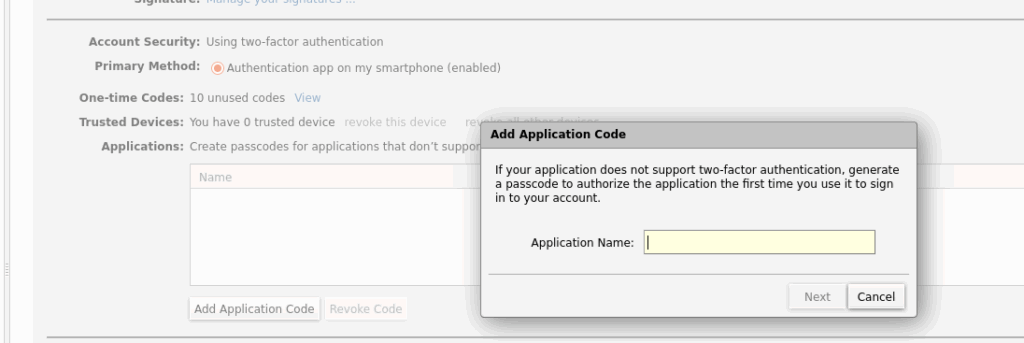
To continue using IMAP (or POP3) when 2FA is enabled, Zimbra provides the ability to create application-specific passwords:
These are one-time generated passwords that bypass 2FA but are tied to your account. You use this password in your email client (Thunderbird, Outlook, etc.) instead of your regular account password. This maintains account security while allowing access from non-2FA-capable clients.
How to Create an App-Specific Password in Zimbra:
- Log in to the Zimbra Webmail interface: https://mail.salonguru.net
- Go to Preferences > Accounts > Account Security.
- Look for the section on App-specific passwords.
- Create a new password and use it in your IMAP client.
Last Updated On

